Rachel
My friend Rachel and I have known each other since High School. We were both in yearbook and have worked on numerous projects together in the past. I came to no surprise that we knew exactly what we wanted to shoot.
Before the shoot, we sent messages back and forth ideas about what kind of shoot we wanted to do. We eventually settled on a 1990's Tokyo style advertisement commercial shoot. This was fantastic because it was an aesthetic we both appreciate.
After coming up with looks and outfit combinations, I got to work creating a "mood board". I absolutely love Pinterest to create my mood boards. I always encourage my clients to create a Pinterest board themselves before a shoot. It's a great way to get an idea of what to expect on the actual shoot. It's also a great way for new models to gather pictures from magazines and practice poses before going into a shoot. That way they know what to do when the camera is on them.
After gathering images from online and posting them to my Pinterest board, it was time to study the lighting and come up with a look and style based on that.
tip:
When studying lighting in an image, look into the reflections in the subjects eyes. You will be able to clearly see what kind of modifier they used as well as where the light was placed relative the subjects position.
Creating a lighting plot is probably the best way to be organized before a shoot. It gives you a general idea of how things will be set up during a shoot. That way you will always be ready to go. I use a free program call The Online Lighting Diagram. It's a fantastic free online lighting designer tool. It has a lot of choices of lighting modifiers, lights, etc. If a shoot requires more detailed lighting plots, however, I will use a program such as Photoshop to complete those.
I know I wanted to have a simple fashion lighting setup. When using seamless paper, it's best to use a fill light right beside your keylight. This secondary light will balance out the dark and contrasty shadows behind your subject as well as lighting up the background.
Basic lighting diagram. This was our idea for the lighting.
My keylight was my new Westcott Rapid Box. This is a fantastic modifier. You can see my first tests of it from my last shoot here. Basically when you attach the separate Deflector Plate, it's turned into a portable, collapsable beauty dish. This allows you to get amazing light without having to drag around a giant metal bowl. Next to that was just a cheap 24x24 speedlight softbox used as my fill. This fill light also acted like a background light in the image. These little softboxes are fantastic. Not only because they are cheap and put out amazing soft light but because they are so versatile. I've used these for numerous projects from fashion to product photography. I highly recommend them to those starting out with flash photography and strobist work. And then finally I had a silver reflector on camera right.
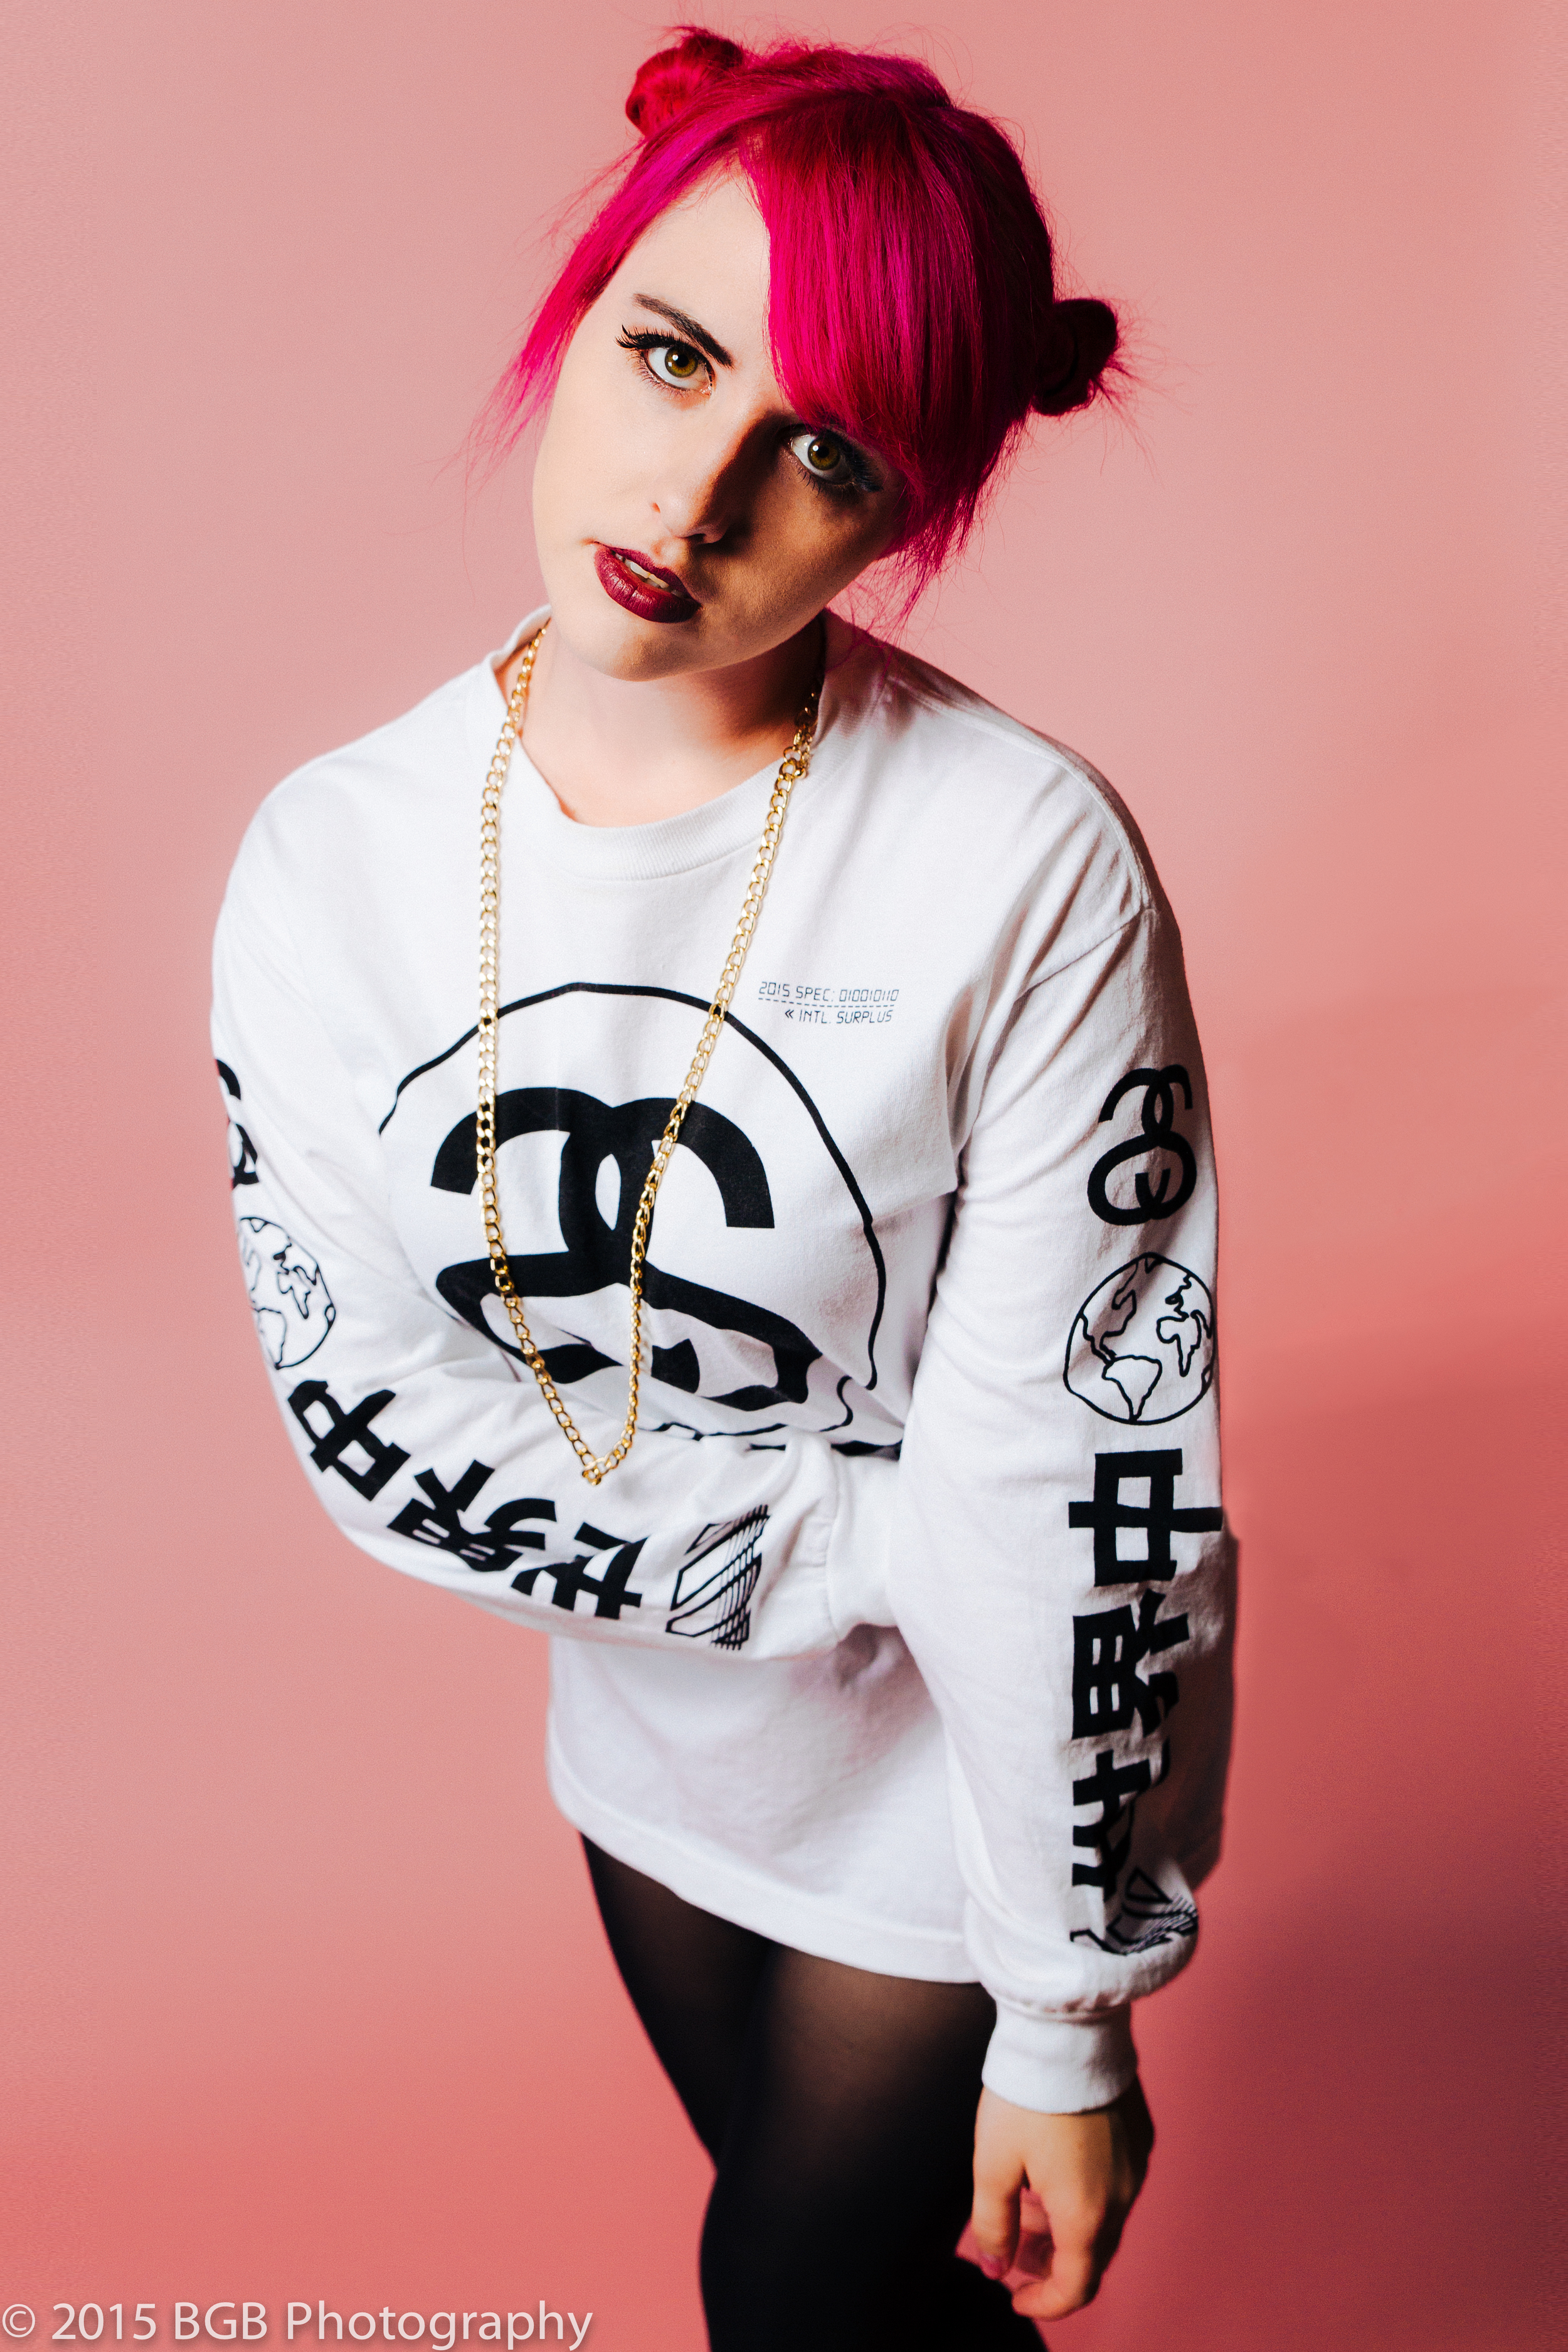
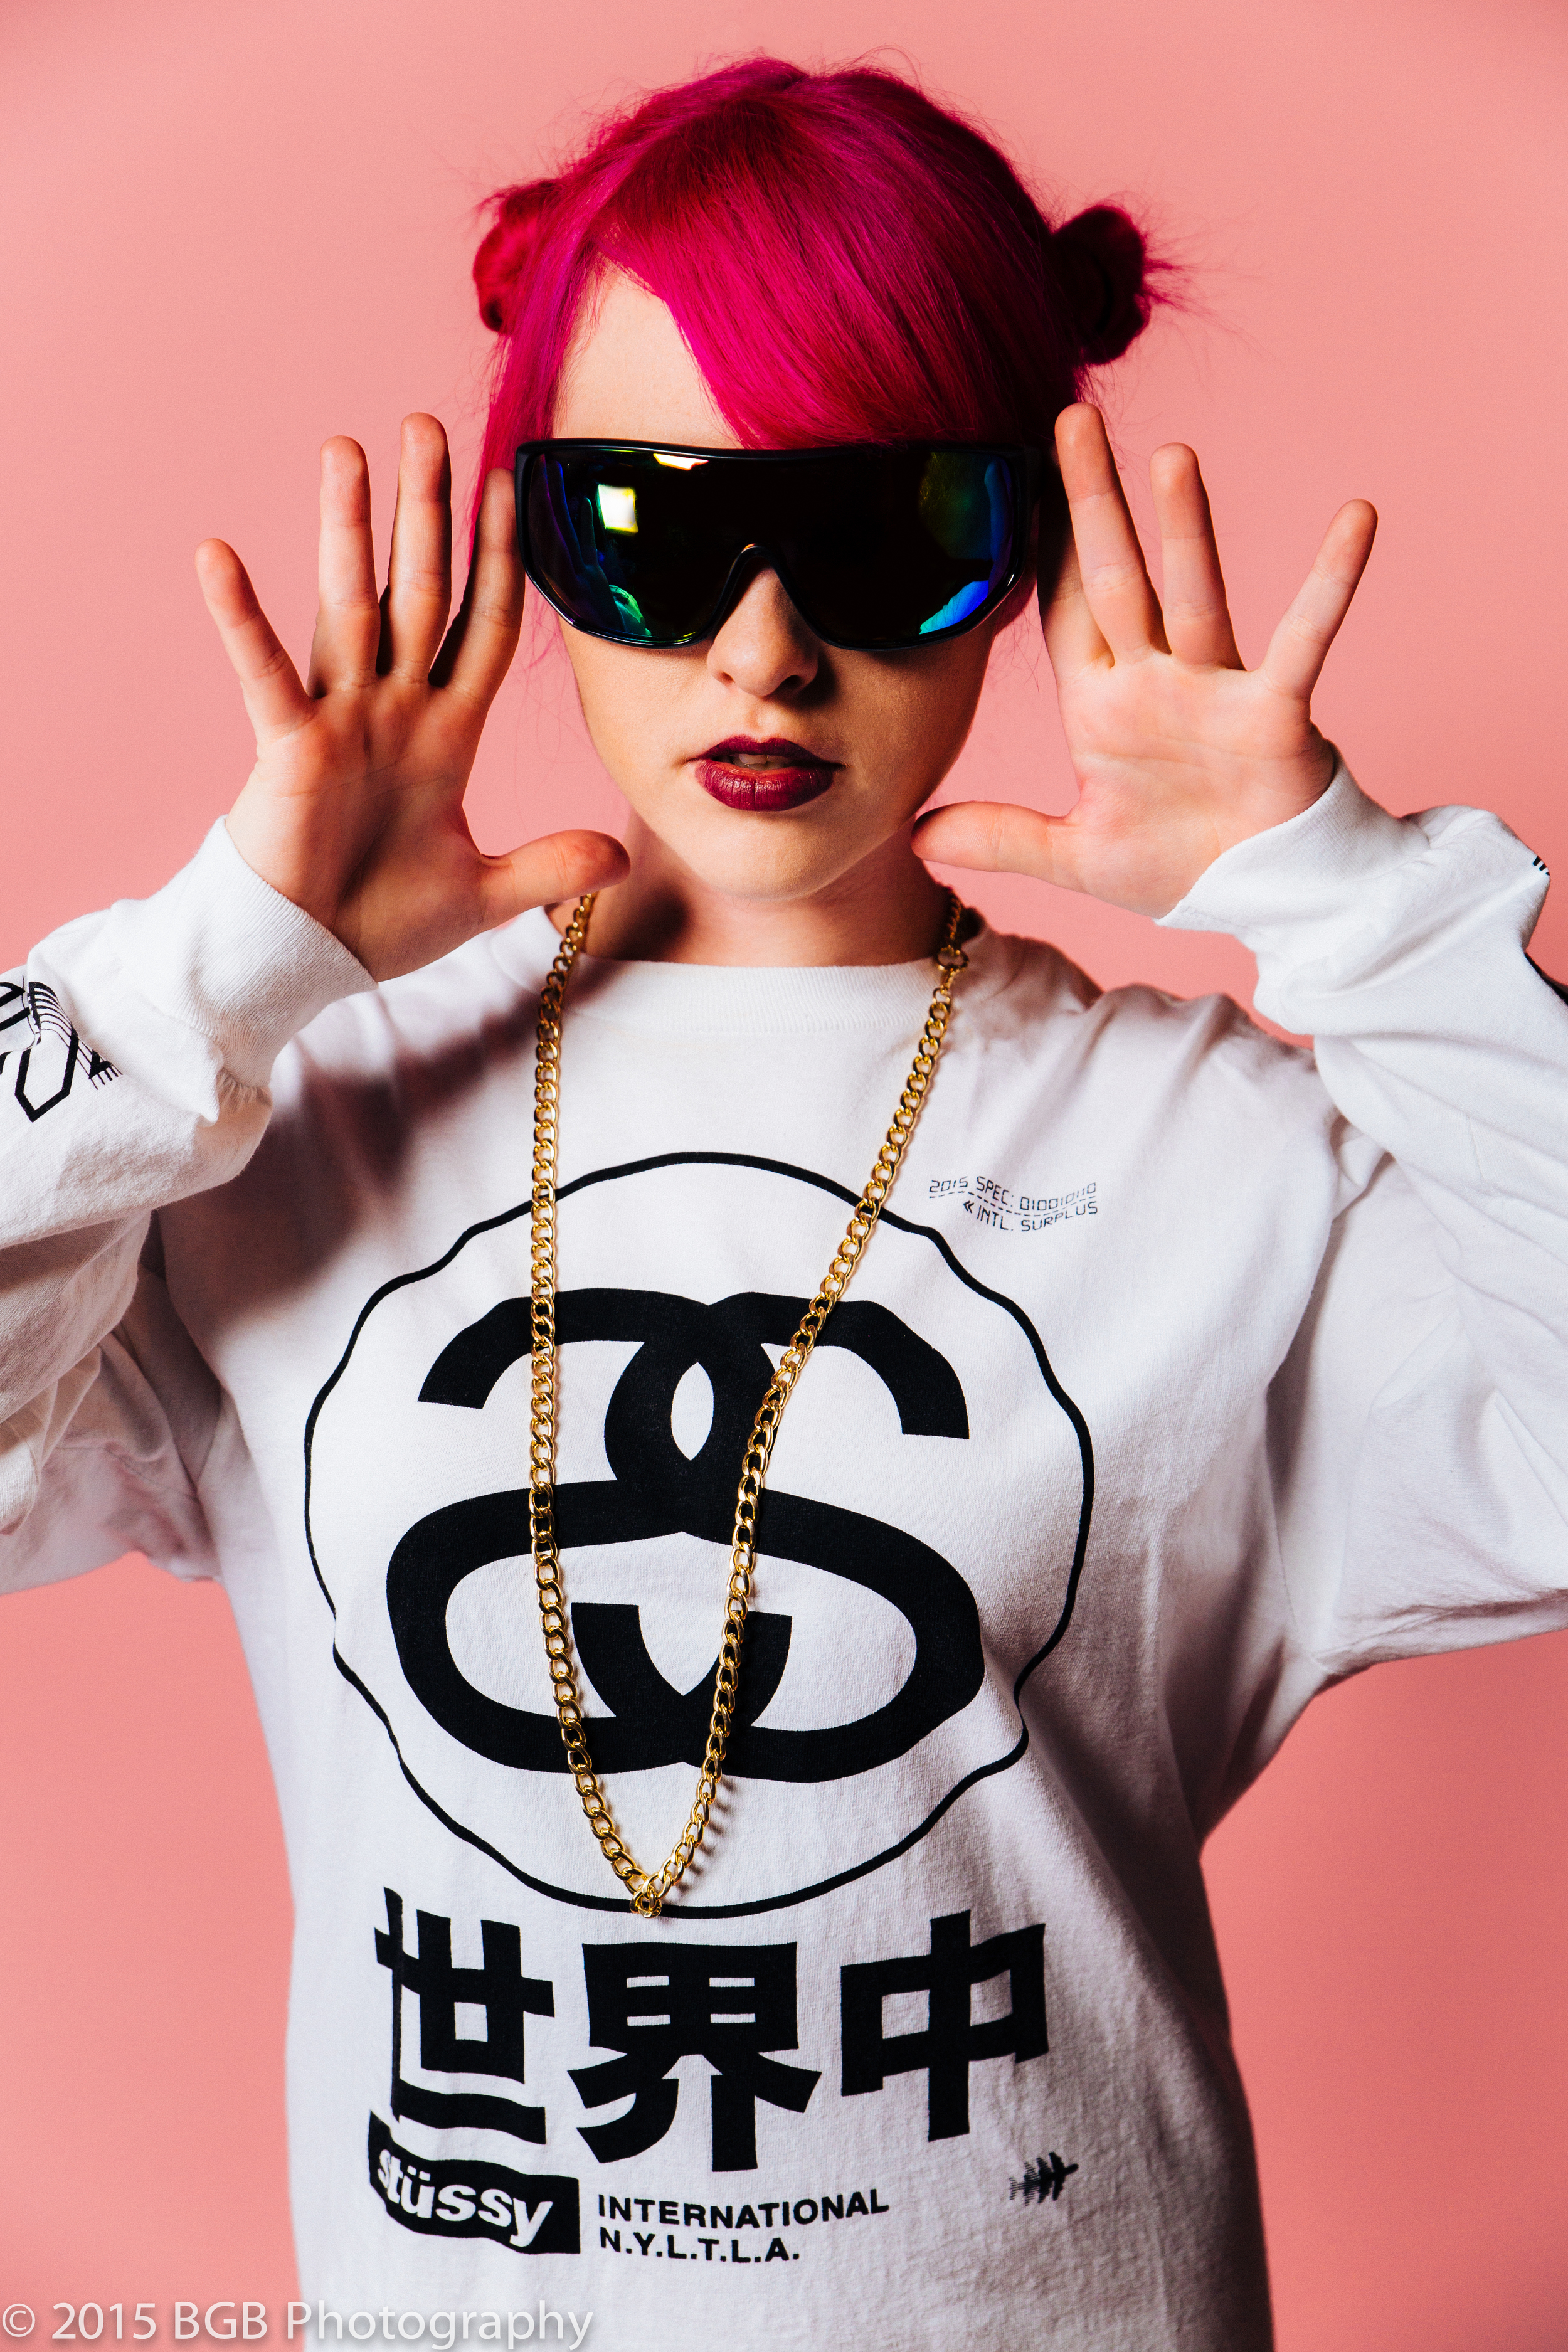
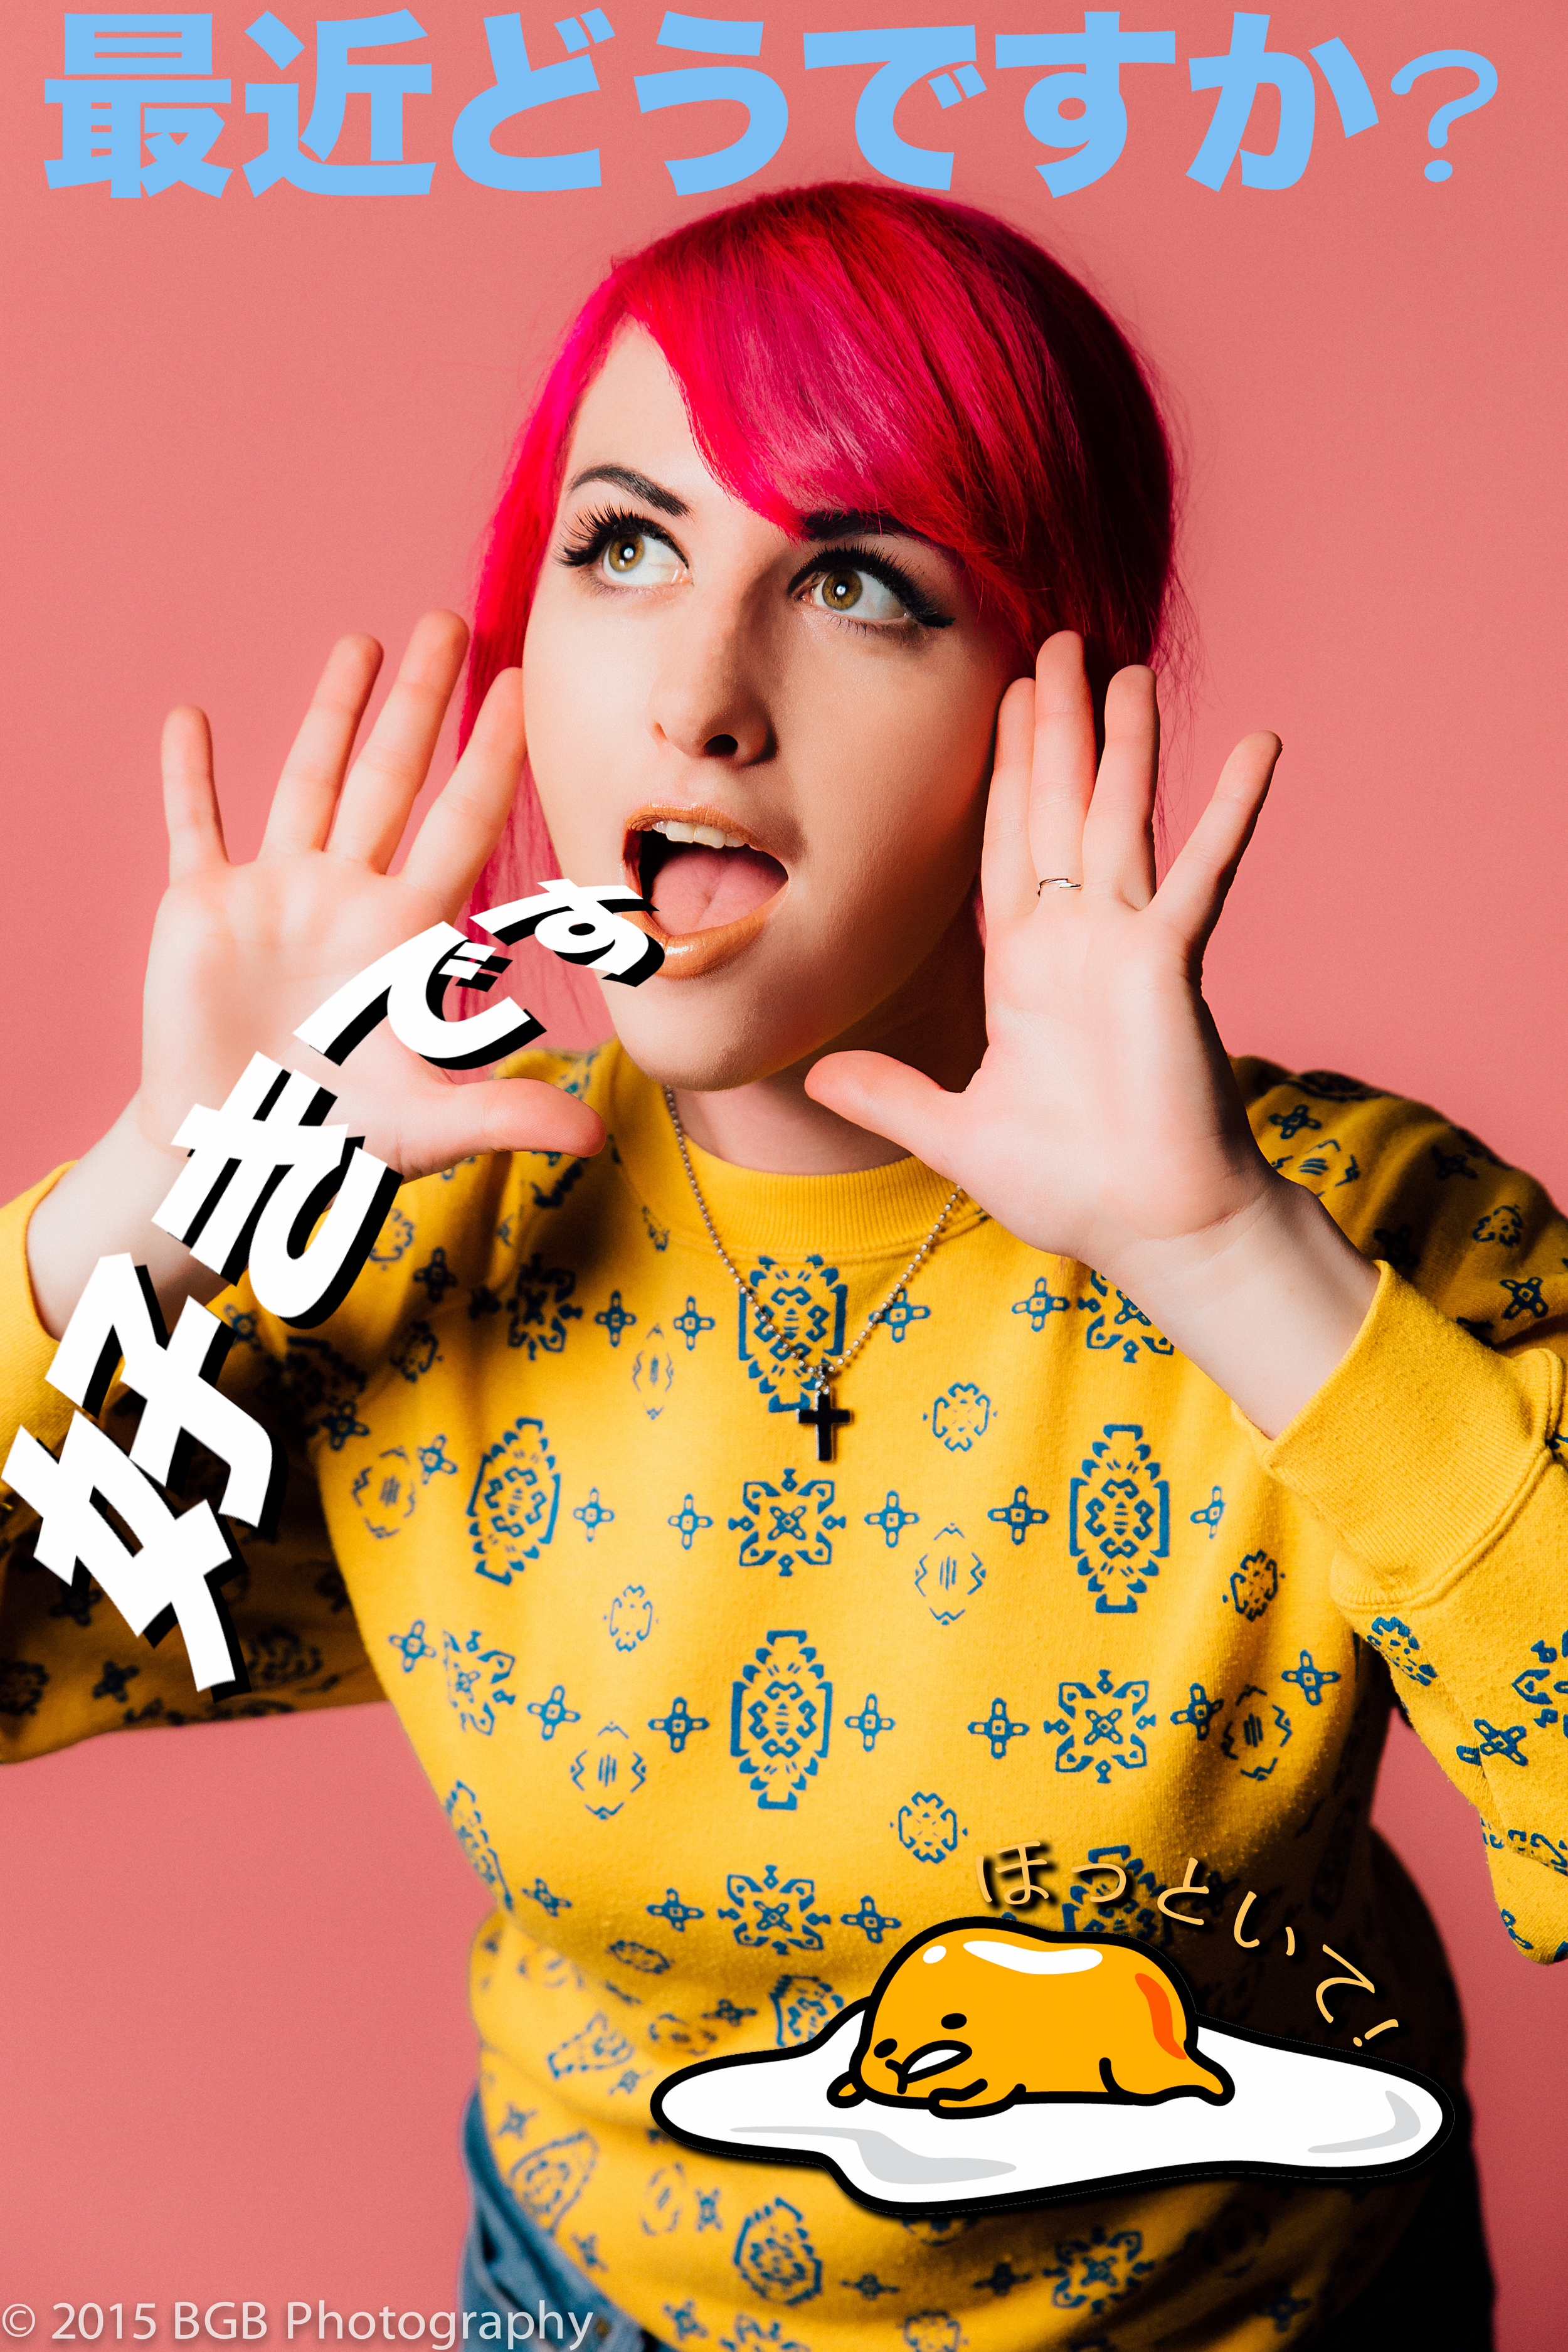
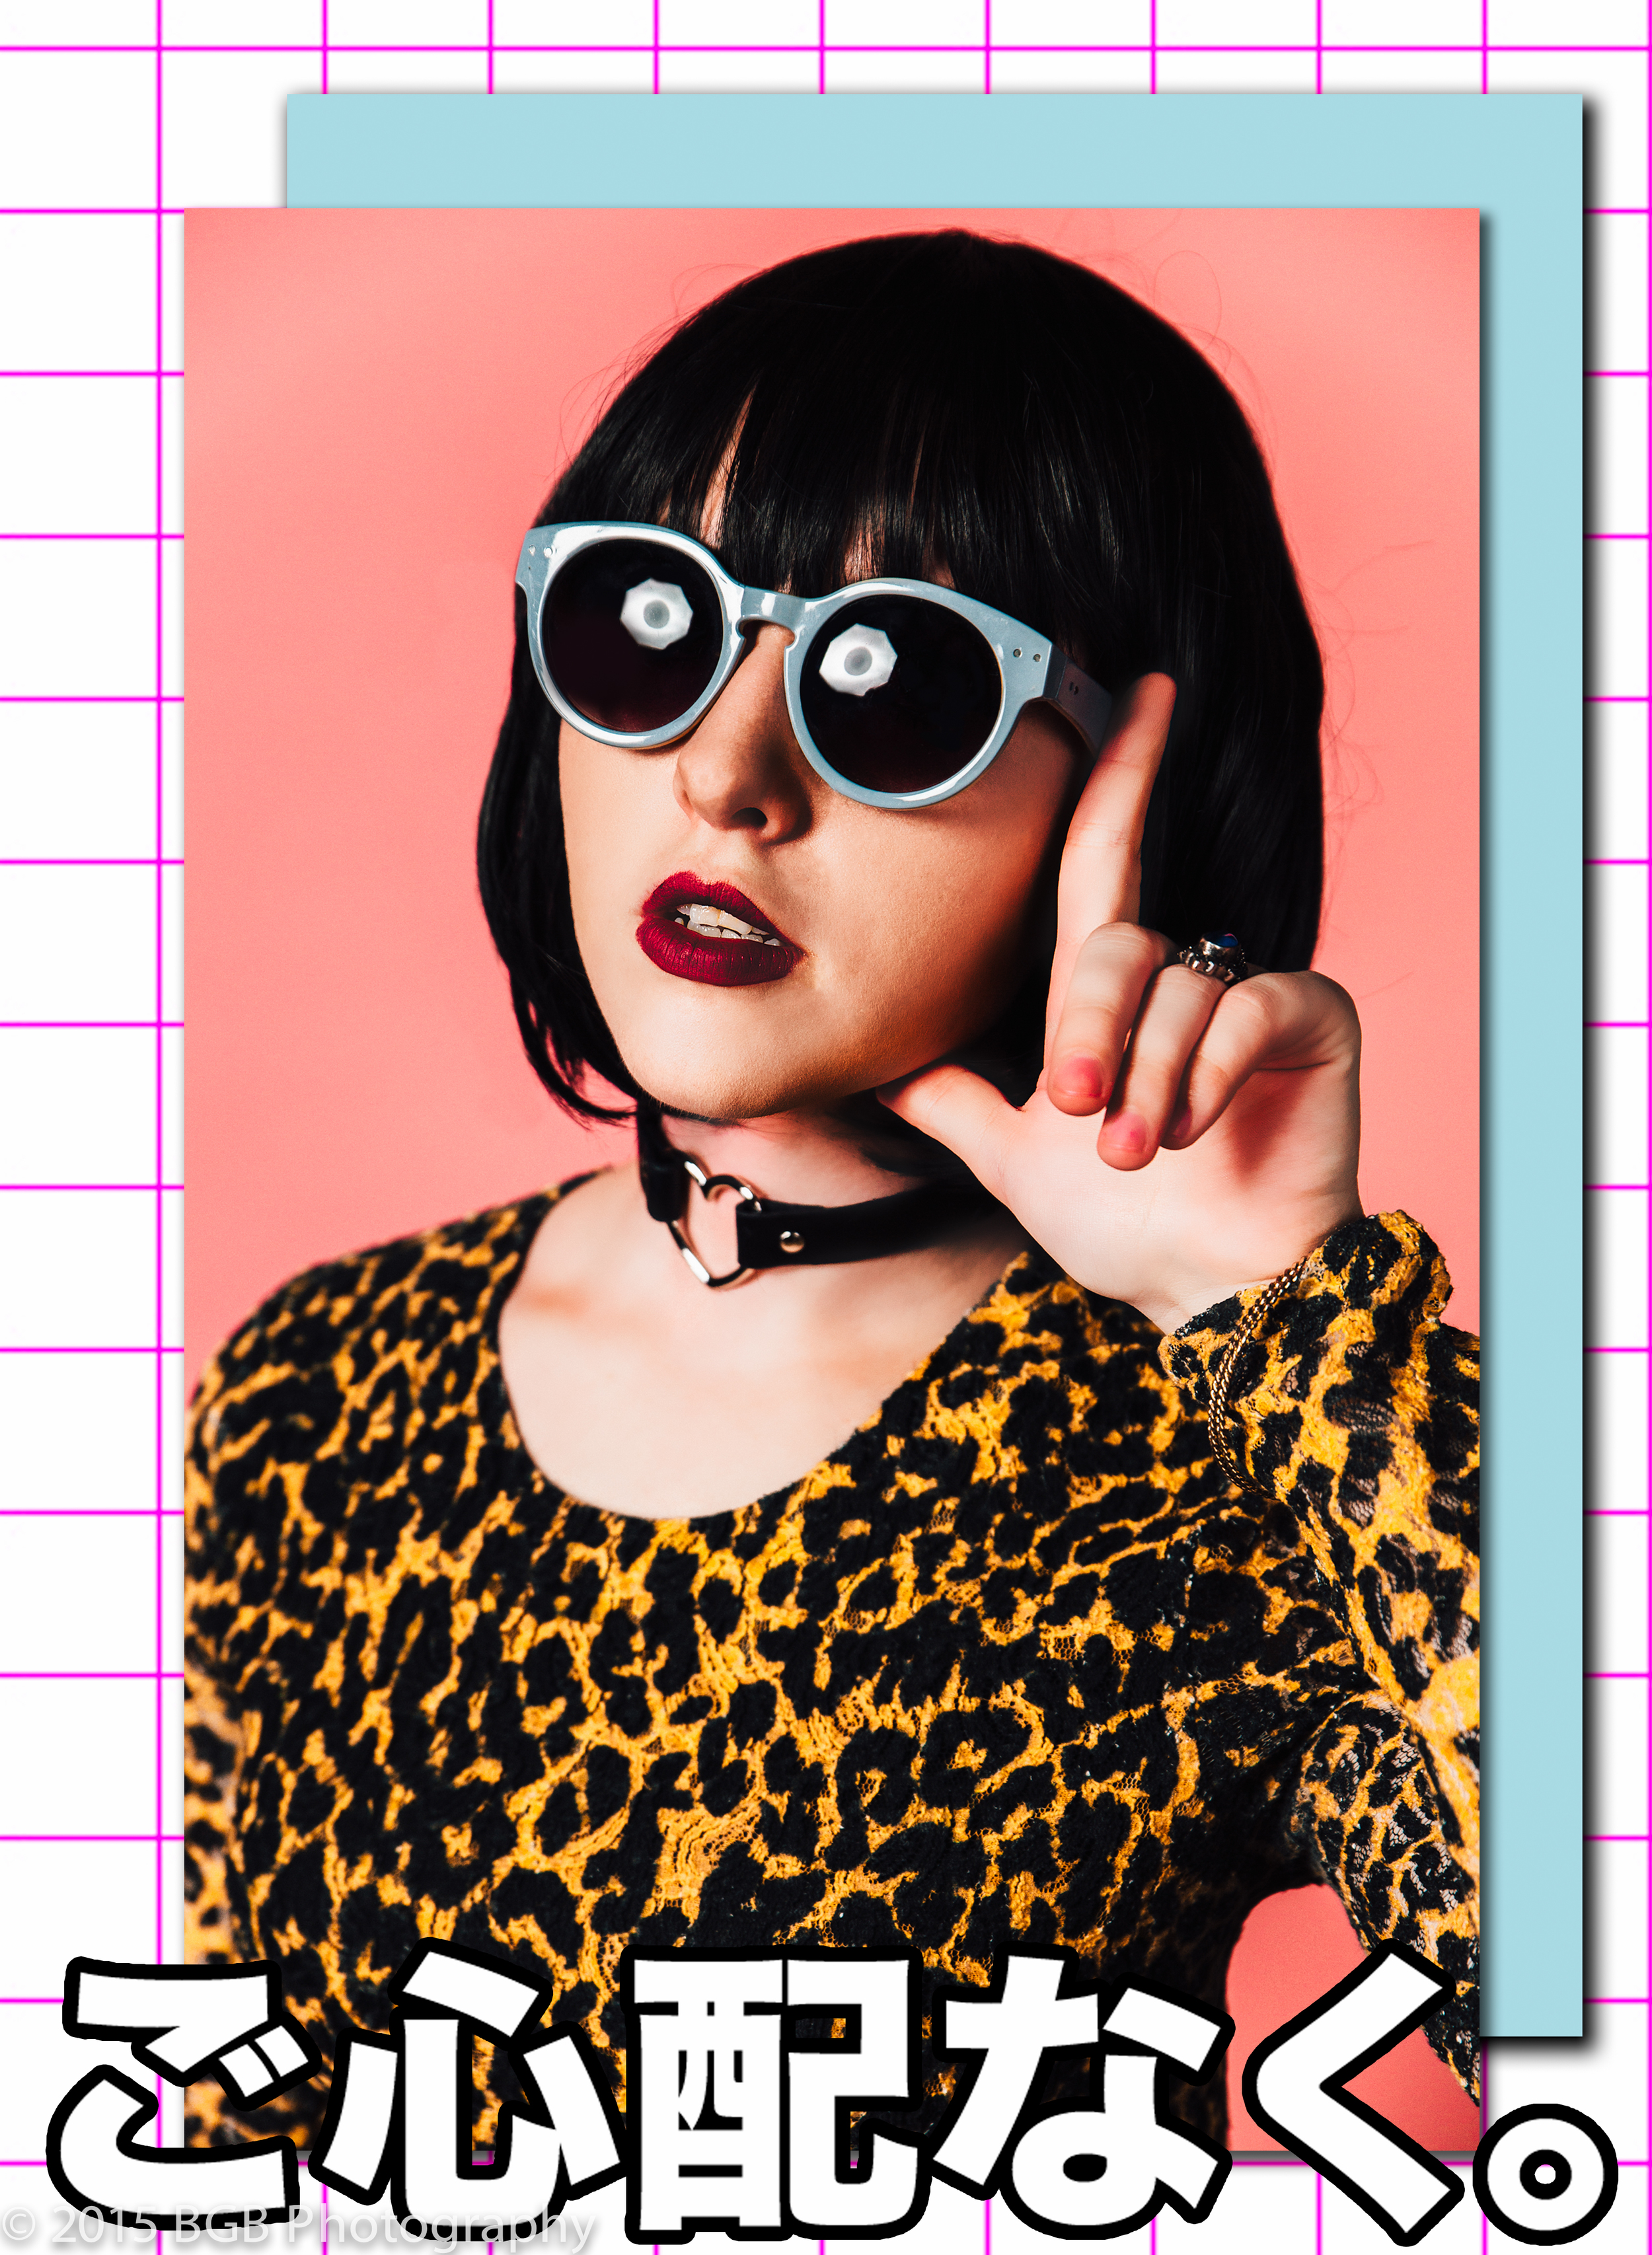
And there you have it. That's how me and Rachel completed out shoot together. I will probably do a seperate blog for retouching. To be honest I don't think of my self as a retoucher, so that's why I never blog about it. I could end up teaching the wrong techniques and I don't want to do that! Anyway be sure to follow this blog for more updates!
